Introduction
If you’ve ever wondered how bloggers earn money while you’re busy reading their latest article about “10 Ways to Brew the Perfect Coffee,” the answer often lies in Google AdSense. It’s one of the most reliable ways to monetize a WordPress site. Whether you’re running a personal blog, a news portal, or a small business site, knowing how to add Google AdSense to WordPress can help you turn clicks into cash without dealing with advertisers directly.
The good news? It doesn’t require advanced coding knowledge. The better news? It can be set up in less time than it takes to binge an episode of your favorite Netflix show (well, almost).
What is Google AdSense and How It Works
Google AdSense is an advertising network that allows website owners to display contextual ads—text, image, video, or interactive—based on their content and audience. Advertisers pay Google, Google takes its cut, and you get your share. It’s a win-win system that runs on the CPC (cost-per-click) model, meaning you earn money every time a visitor clicks on an ad.
The magic lies in its automation. Instead of negotiating with brands, you let Google’s massive database decide which ads are most relevant to your audience. This way, your visitors see ads that feel organic rather than out of place.
Preparing Your WordPress Site for AdSense Approval
Before you get too excited, Google isn’t handing out approval like candy. Here are a few things you need:
- Original content – No copy-pasting from other sites. Google loves uniqueness.
- User-friendly navigation – Visitors (and Google reviewers) should move around easily.
- AdSense compliance – No prohibited content or shady tactics.
A well-structured, content-rich site has better chances of quick approval.
Step 1: Create and Set Up Your AdSense Account
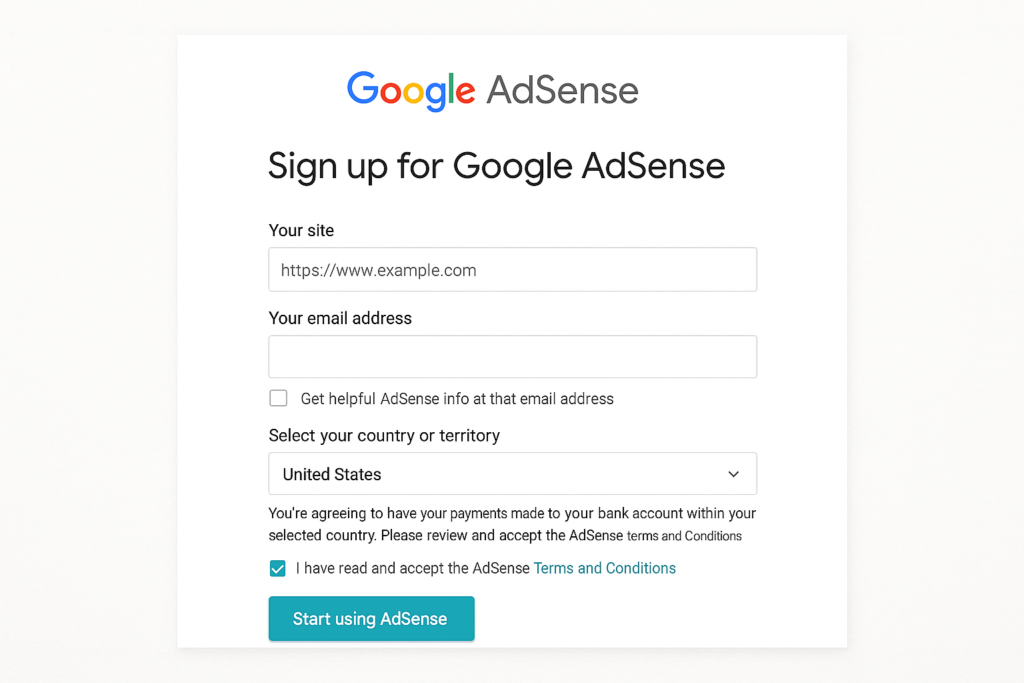
Start by heading over to the Google AdSense website and signing up. You’ll need to:
- Provide your website URL and country.
- Accept the terms and conditions.
- Fill in details like name, address, and account type.
Once submitted, your account will be under review. This may take anywhere from a few hours to a few weeks, so patience is part of the deal. (Consider it your first lesson in passive income—sometimes you have to wait.)
Step 2: Connect AdSense to Your WordPress Site
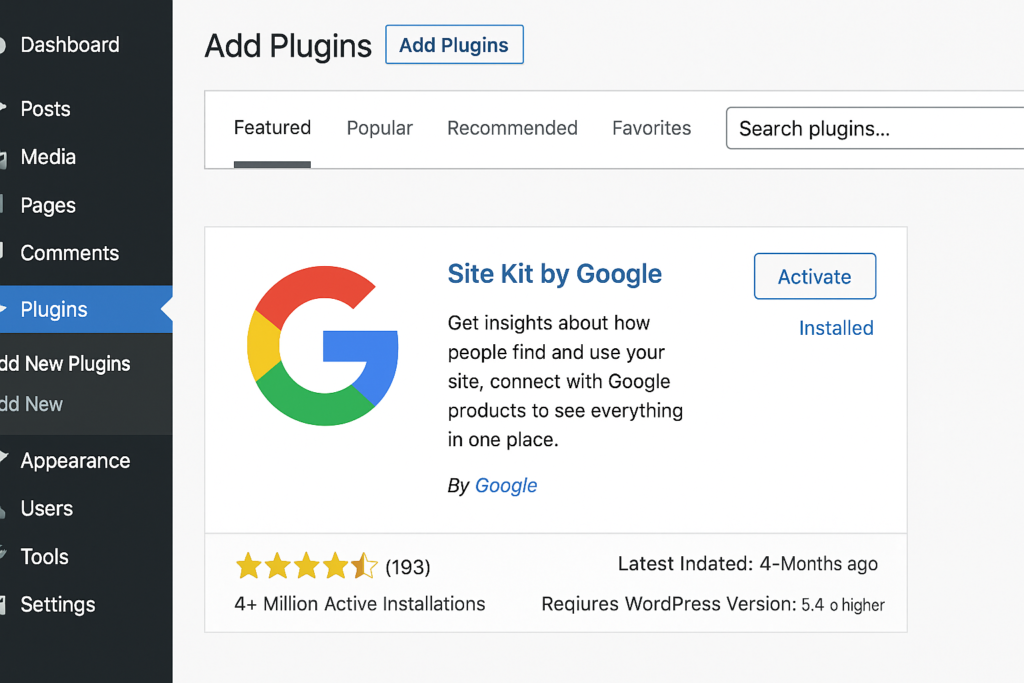
Option A: Using Site Kit by Google (Beginner-Friendly)
This is the simplest route if you’re new.
- Install and activate the “Site Kit by Google” plugin from your WordPress dashboard.
- Sign in with your Google account.
- Verify site ownership and allow permissions.
- Connect your AdSense account under the Monetization tab.
- Enable Auto Ads to let Google decide where to place ads.
Option B: Manual Code Placement
If you want more control:
- Log in to your AdSense dashboard and create a new ad unit.
- Copy the code snippet provided.
- Paste the code into your WordPress site using a Custom HTML widget (Appearance → Widgets) or insert it into your header.php file (not recommended unless you’re comfortable with code).
Option C: Advanced Plugins
Plugins like Ad Inserter, Advanced Ads, or WPCode offer enhanced control, allowing you to display ads before/after posts, inside paragraphs, or even exclude them from specific pages.
Step 3: Auto Ads vs. Manual Ads
- Auto Ads: Add one piece of code and let Google do the heavy lifting. It chooses placement, size, and type. Perfect if you’d rather focus on content creation than ad tweaking.
- Manual Ads: Greater control over placement. Want an ad smack in the middle of your blog post? Go for it. Just remember not to overwhelm your readers, or they might click away instead of clicking the ads.
AdSense Best Practices for WordPress
To get the best out of AdSense, follow these tips:
- Ad Sizes: Stick to popular ones like 336×280 and 300×250 for better results.
- Responsive Ads: Ensure they adjust to all screen sizes, especially mobile.
- Placement Matters: Ads near or inside content usually get better CTRs than ads hidden at the bottom.
- Avoid Violations: Never click your own ads, don’t encourage others to, and avoid excessive clutter. Google’s algorithm is smarter than you think (and less forgiving).
- Experiment: Use AdSense reports and heatmaps to test placements and maximize revenue.
Common Questions and Troubleshooting
- Why was my application rejected? Your site may be too new, lack content, or violate policies.
- Can I use AdSense from Blogger or YouTube on WordPress? Yes, by upgrading your account.
- How often will I get paid? Monthly, once you meet the minimum threshold.
- Can I run AdSense on WordPress.com? Only if you’re on their Business plan.
- What’s RPM and CTR? RPM is revenue per 1,000 impressions, and CTR is click-through rate. Both are key performance metrics in your earnings.
Conclusion
Learning how to add Google AdSense to WordPress isn’t rocket science—it’s more like following a recipe. Start by creating an AdSense account, connect it to your WordPress site via Site Kit, manual code, or plugins, and choose between auto or manual ads. Follow best practices, keep your site valuable to readers, and let AdSense handle the rest.
At the end of the day, remember: ads won’t turn your site into a money-printing machine overnight, but with consistency, good content, and optimization, they can definitely cover your next hosting bill (or that extra cup of coffee fueling your late-night writing).
And if all this feels overwhelming, don’t worry—we’ve got you covered. We, as a Digital Marketing Company in Chandigarh, specialize in optimizing WordPress sites, boosting traffic, and maximizing ad revenue. So, if you’d rather focus on creating content while someone else handles the monetization puzzle, you know where to find us.