If your child has ever asked you, “Can I make my own website?” — take a deep breath. The answer is yes, and no, you don’t need a degree in computer science to help them do it.
In a world where kids are born with tablets in their hands and TikTok in their DNA, knowing how to make a website for kids isn’t just a fun summer activity — it’s a valuable skill that blends creativity, critical thinking, and digital literacy. Whether it’s a blog about dinosaurs, a lemonade stand e-commerce site, or a virtual art gallery, building a website can be both educational and wildly exciting (even for parents trying not to panic over domain names).
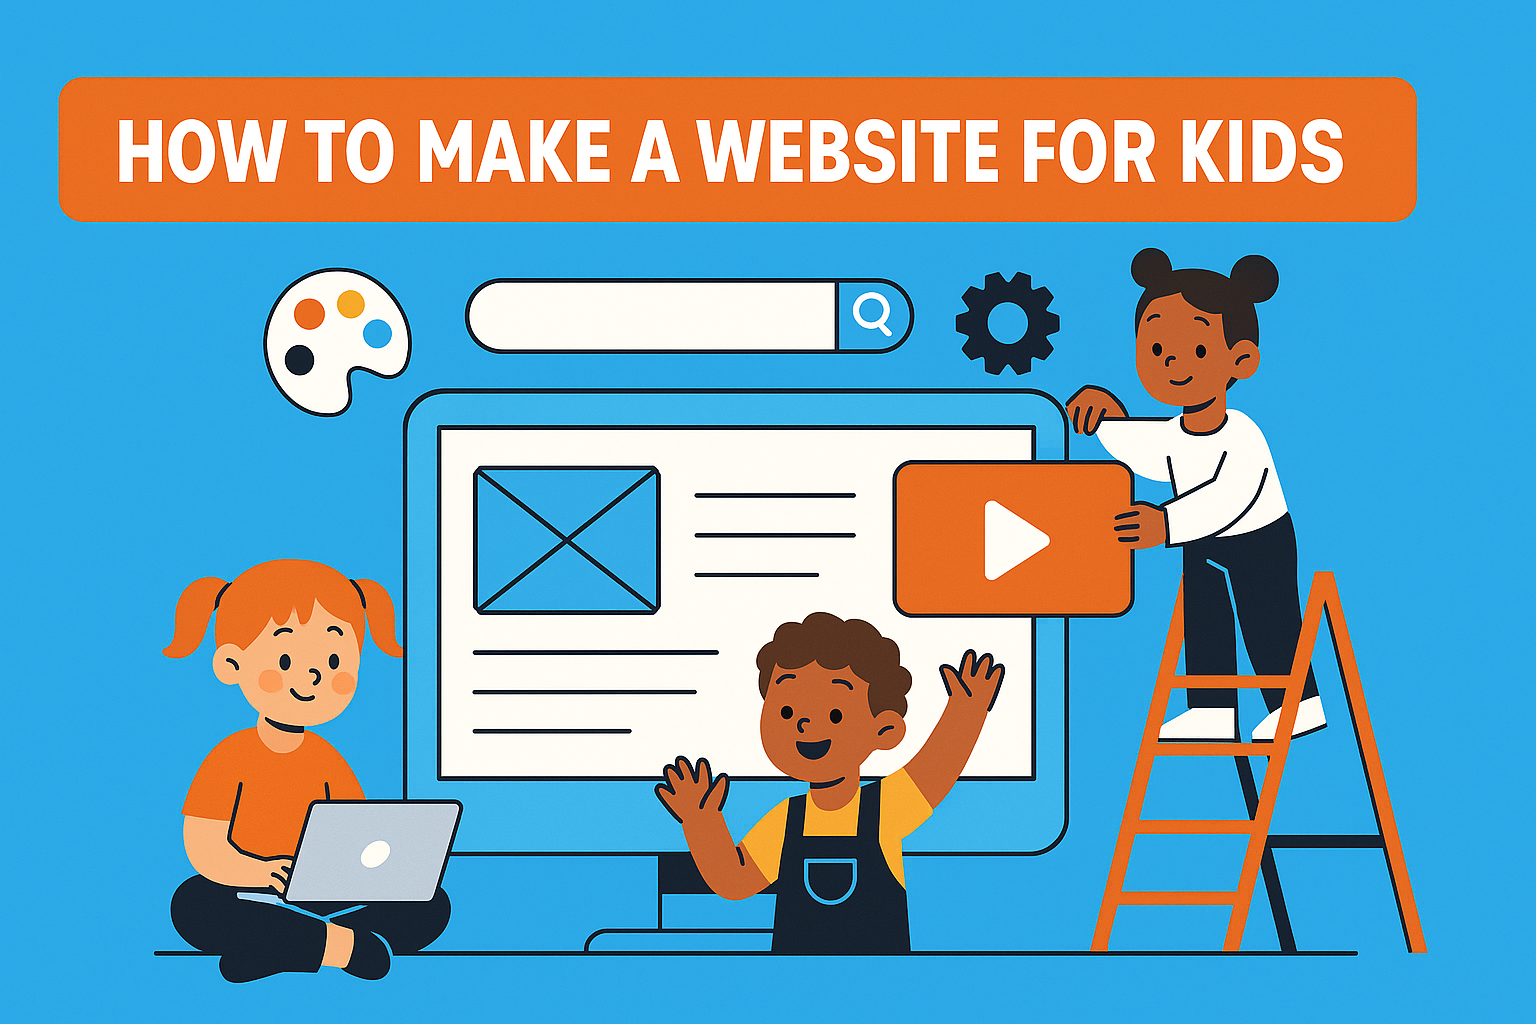
Let’s walk through how to make a website for kids, step-by-step — no coding meltdown required.
Why Should Kids Learn Website Creation?
Because let’s face it — if they can navigate YouTube’s algorithm better than you can find your TV remote, they’re ready for more.
- It develops real-life skills. Kids learn design thinking, basic logic, storytelling, and how to structure information.
- It encourages creativity. Fonts! Colors! Buttons! There’s nothing like choosing the perfect shade of neon green for a background.
- It introduces technical literacy. Even using drag-and-drop builders, children begin to understand how the internet works — including safety.
- It gives them confidence. Building something from scratch and sharing it with the world? That’s a big win.
And let’s not forget the bragging rights: “I have a website” beats “I have 10 Roblox skins” any day.
Start with a Plan (Even If It’s Drawn in Crayon)
The first step in how to make a website for kids is figuring out what they want to build.
Is it:
- A personal blog about pets?
- A digital portfolio for school projects?
- A storefront for handmade crafts or origami frogs?
Have your child sketch ideas, pick a name, and talk through what kind of content they’ll want to share. Keep it open-ended, and let their imagination lead the way.
Pick the Right Website Builder (Kid-Approved and Parent-Safe)
Not all website builders are created equal — especially when it comes to children. Here are a few standout platforms:
- Wix: Colorful templates and intuitive drag-and-drop tools
- Appy Pie: AI-powered builder with quiz and animation features
- Weebly: Great for kid-run mini-businesses
- WordPress.com: Ideal for writing and blogging
Look for platforms with no-code features, free hosting, and built-in privacy protections. Also, avoid anything that asks for a credit card before your morning coffee.
Choose a Template and Let the Fun Begin
This is where things get colorful — literally.
Templates are pre-designed website layouts that your child can customize. Encourage them to pick one that reflects their project’s personality, whether it’s:
- Bold and bright for a kidpreneur’s shop
- Whimsical for a story blog
- Clean and organized for school-related work
Bonus tip: Let them make a few “bad” design choices at first. That neon pink text on a yellow background? A design lesson in disguise.

Add Content That Tells Their Story
Now comes the heart of the site — the content.
Here’s what your child can include:
- An “About Me” page (yes, even kids need a brand!)
- Photos and videos (original or from safe stock image libraries)
- Blog posts or updates about hobbies, discoveries, or mini-adventures
- Fun pages like “Games & Magic,” “Crafts,” or “Strange Facts” if they’re feeling ambitious
It’s also a great time to introduce kids to the idea of digital responsibility — no addresses, phone numbers, or mysterious usernames that sound like a Marvel villain.
Safety First, Always
Knowing how to make a website for kids is only part of the picture. Teaching safe publishing practices is equally important.
Things to check:
- Is the website password-protected or only shared with friends/family?
- Are there moderation tools if comments are allowed?
- Is the content age-appropriate and respectful?
Tools like Wix’s 24/7 security monitoring or Appy Pie’s no-code privacy layers are perfect for making sure the website adventure doesn’t lead to a cybersecurity horror story.
Hit Publish – Then Celebrate with Ice Cream
Once your child is happy with their design, content, and safety settings — it’s time to go live!
Publishing is the ultimate “ta-da” moment. Encourage your child to share the site with friends and family (and maybe grandma, who still thinks “the Google” is one website).
Remind them: websites are never final. Updates and improvements can be made anytime. It’s not just a lesson in tech — it’s a life lesson in iteration and resilience.
Using a Website to Encourage Creativity Long-Term
Kids’ websites can evolve as they grow. Here’s how to keep the creativity flowing:
- Add a virtual wall of fame to showcase their projects
- Let them write weekly blogs on new things they’ve learned
- Introduce fun coding tweaks (with adult help) for older kids
- Offer creative challenges like “Design your dream planet”
Not only does this sustain their interest — it nurtures lifelong curiosity.
Wrapping Up: It’s Easier (and More Rewarding) Than You Think
Learning how to make a website for kids is more than just a tech skill — it’s a launchpad for expression, learning, and building confidence. Whether it’s a playful homepage or a full-fledged digital business card, your child will walk away knowing they’ve created something all their own.
And hey — if you’re a parent or teacher wondering how to help a child start their digital journey, you’re not alone. As a digital marketing company in Chandigarh, we help clients of all ages build user-friendly, secure, and SEO-ready websites — including platforms for kids with big dreams and bright ideas.
Let us help bring your little creator’s vision to life, one pixel at a time.