
How to Fix 400 Bad Request
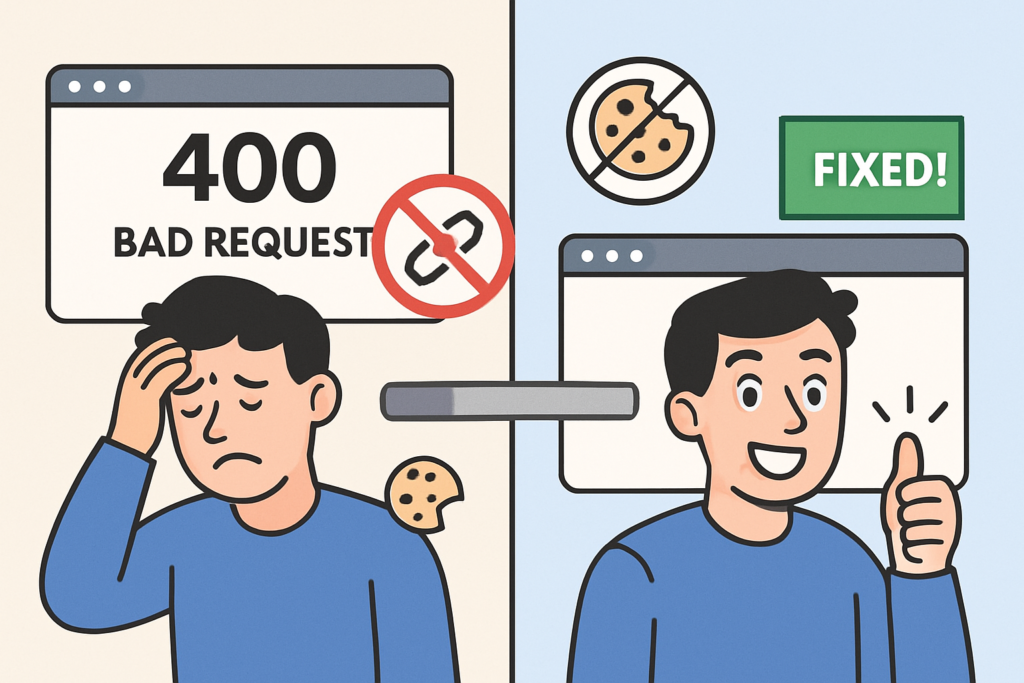
We’ve all been there. You’re browsing a website, maybe trying to check out a product, submit a form, or even just log in—and bam! You’re greeted with the uninviting message: “400 Bad Request.” It’s the digital equivalent of someone saying, “I have no idea what you just said, please try again.” If you’ve found yourself wondering how to fix 400 bad request, you’re not alone—and fortunately, you’re in the right place. Let’s break down what this pesky HTTP status code means, why it happens, and how to get rid of it once and for all (without needing a computer science degree). What Does a 400 Bad Request Error Actually Mean? The 400 Bad Request error is an HTTP status code that indicates your browser sent a request to the server that the server couldn’t understand. It’s a client-side issue, meaning the problem lies somewhere in your device, browser, or network—not on the website you’re trying to access. This error might appear as: Let’s decode the digital grumbling and show you how to fix 400 bad request in a few practical steps. Common Culprits Behind a 400 Bad Request Before diving into the solutions, it helps to understand the common causes: Now let’s look at how to fix 400 bad request using some foolproof methods. 1. Double-Check the URL (Yes, Typos Count) This one seems obvious, but it’s often overlooked. One wrong character—like an extra space, a misplaced %, or a missing slash—can confuse a server into rejecting your request. Pro Tip: Use a URL encoder/decoder tool if the address looks like ancient hieroglyphics. 2. Clear Your Browser’s Cache and Cookies Over time, your browser stores a ton of temporary files and cookies that help websites load faster. But when they get outdated or corrupted, they can cause all kinds of hiccups—including the 400 Bad Request error. How to do it: Bonus tip: It might log you out of websites, but that’s a small price to pay for digital peace. 3. Disable Your Browser Extensions Browser extensions are like overzealous coworkers—helpful until they start messing things up. Some extensions, especially ad blockers or privacy tools, can interfere with requests or inject bad headers. Disable them one by one and refresh the page to isolate the culprit. 4. Flush Your DNS Cache DNS is your computer’s phone book for websites. Sometimes the contact info (IP address) stored in it is outdated or incorrect. For Windows: ipconfig /flushdns For macOS: sudo dscacheutil -flushcache; sudo killall -HUP mDNSResponder Flushing the DNS is like restarting your computer’s memory for the internet. It often works like a charm. 5. Reduce the Size of Uploaded Files Trying to upload a 300MB video where the site only allows 100MB? The server will respond with a 400 error faster than you can say “compression.” Use tools like: If you’re using WordPress, plugins like WP Upload Size can help you increase the max upload limit—just don’t go too wild. 6. Log Out and Log Back In (WordPress Users) Session data in WordPress can go stale. Logging out and logging back in is like shaking the Etch A Sketch and starting fresh. 7. Deactivate Themes and Plugins (WordPress Again) If the error appeared after installing a new theme or plugin, deactivate it. Can’t access the dashboard? Use FTP or your hosting file manager, navigate to /wp-content/plugins/, and rename the suspect plugin folder. WordPress will automatically deactivate it. 8. Restart Your Device or Switch Networks A slow or unstable connection might be garbling the request. Restart your modem/router or switch to a different connection (like mobile data) to test. Still seeing the error on multiple devices and browsers? It could be a server-side misconfiguration—time to contact the website admin. Monitoring and Preventing 400 Errors on Your Own Website If you run a website, especially on WordPress, prevention is better than cure. Here’s how to avoid seeing your visitors bounce from a 400 error: Conclusion: Fix It, Don’t Fear It So, there you have it—a complete breakdown of how to fix 400 bad request in practical, human language. Whether it’s clearing cache, fixing a URL typo, or compressing a file, these steps are more than enough to solve the majority of 400 errors. But if you’re a business owner or managing a WordPress site and find yourself running into errors too often, maybe it’s time for a more robust solution. We’re SE Rank Pro, a results-driven digital marketing company in Chandigarh that not only helps you fix annoying issues like these but also builds, optimizes, and grows your online presence. From SEO to WordPress troubleshooting, we’ve got your back—minus the tech jargon.
How to Clear WordPress Cache?
A Beginner’s Guide to a Cleaner, Faster Site Let’s face it—if websites were kitchens, WordPress cache would be the drawer where you keep all your frequently used utensils for faster cooking. But just like that drawer gets cluttered, your cache can, too. And when it does, instead of making things faster, it just creates chaos—pages don’t update, site speed drops, and your visitors are left staring at your old content like it’s been frozen in time. So today, we answer the million-dollar question (or at least a few seconds of load time): how to clear WordPress cache? What Is WordPress Cache and Why Should You Care? In the simplest terms, cache is temporary storage for your website’s data—HTML files, images, scripts, and stylesheets—that helps browsers display your site faster. Rather than fetching this data from scratch every time, your browser or server pulls it from storage. Smart, right? But here’s the twist: cache can sometimes be too clingy. It holds on to outdated files like your browser has commitment issues, leading to formatting glitches, broken pages, or a complete refusal to acknowledge that you just updated your homepage banner. That’s when knowing how to clear WordPress cache becomes critical. The Many Faces of Cache Before diving into how to clear WordPress cache, it helps to understand that not all caches are created equal. There are a few usual suspects: Each of these needs to be cleared differently, depending on what’s being stubborn on your site. Why You Might Need to Clear Cache Here’s when it’s time to reach for the flush button: In these moments, learning how to clear WordPress cache can save your sanity and your user experience. How to Clear WordPress Cache – Plugin Edition For most site owners, plugins are the easiest way to manage caching. Here are some popular options: 1. WP Rocket 2. LiteSpeed Cache LiteSpeed also lets you purge directly from the admin bar—faster than a pizza delivery. 3. W3 Total Cache 4. WP Fastest Cache Most of these plugins are beginner-friendly. And if they confuse you, don’t worry—you’re not alone. Even seasoned developers sometimes hit “Purge All” like they’re swatting a digital fly. How to Clear WordPress Cache Without a Plugin No plugin? No problem. If your hosting provider offers cache management (many do), you can clear server-level cache from their control panel: Hostinger (via hPanel) WP Engine This is often more efficient because it works beyond just WordPress files—it also clears opcode and object caches if your server supports them. Clearing Your Browser Cache If you’re seeing stale content on your site and none of the above seems to work, it could be your browser cache playing tricks. Here’s a quick guide for popular browsers: Still stuck? Try incognito mode. It’s like giving your browser a fresh pair of eyes. What About CDN Caches? If you’re using a CDN like Cloudflare: This ensures that all your distributed edge servers are delivering the freshest version of your site. Pro Tips (Because You’re Fancy Now) So… How to Clear WordPress Cache? Let’s recap. And if you’re still wondering how to clear WordPress cache? after all this… maybe it’s time to have an expert take over. Need Help with Site Speed, SEO, or Caching Troubles? We at SE Rank Pro, a Digital Marketing Company in Chandigarh, help local and global businesses build faster, better WordPress websites. Whether it’s caching chaos, SEO nightmares, or a need for speed—we’ve got you covered. Let the experts at your trusted Digital Marketing Company in Chandigarh handle it all, so you can focus on growing your business without worrying if your homepage still thinks it’s 2022.
What Is the Recommended File Size and Resolution for Images Used in WordPress Posts and Pages?

A crisp, high-quality image on your
How to Pin Multiple Locations on Google Maps

In an age where we can locate the nearest taco truck within 60 seconds but can’t remember where we parked yesterday, tools like Google Maps are nothing short of modern miracles. Whether you’re planning a cross-country road trip or organizing a complex sales route, learning how to pin multiple locations on Google Maps can save you time, stress, and a few extra gray hairs. In this guide, we’ll walk you through exactly how to do it—step-by-step—on both desktop and mobile, and even how to jazz things up with custom pins and spreadsheet imports. Because honestly, why just know where you’re going when you can look good getting there? What Does It Mean to “Pin” a Location? Let’s start with the basics. Pinning a location in Google Maps is just a fancy way of saying you’re placing a marker on a specific spot—like saying, “Hey, this is important. Remember this!” A pin can be used for: And when you’re looking to pin more than one location? That’s where things get interesting—and Google Maps shines. Why Pin Multiple Locations? You could be a sales rep trying to hit five client meetings in one day, or maybe you’re just planning the ultimate taco crawl with friends. Either way, plotting more than one point on a map gives you clarity, efficiency, and a powerful bird’s-eye view of your journey. Here are a few scenarios where you’d need to know how to pin multiple locations on Google Maps: Method 1: Pin Multiple Locations with Google My Maps (Desktop) This is your best friend if you need customization, control, and clarity. Step-by-step: You can also click the pin icon under the search bar to manually drop a pin anywhere—ideal if your GPS isn’t quite sure where your cousin’s new farmhouse really is. Method 2: Importing Multiple Locations from a Spreadsheet If you’ve got a list of addresses, you can let Google do the heavy lifting. Here’s how: This feature is especially useful for businesses with large datasets—because no one wants to manually pin 237 franchise locations. Method 3: Mobile Workarounds The Google Maps mobile app doesn’t let you build custom maps from scratch, but here’s the workaround: It’s like desktop did the homework, and your phone’s just here to show it off. Creating a Route Between Pinned Locations Want to go one step further and build a route? Inside Google My Maps: Perfect for delivery planning, tour routes, or your much-needed post-wedding food hop. Customizing Your Map Like a Pro Once you’ve pinned your locations, don’t stop there. This is especially helpful for business owners who want to distinguish between customer locations, distribution centers, and sales zones. Sharing and Embedding Your Map When your masterpiece is complete: Want to know how to pin multiple locations on Google Maps and turn it into a business tool? This is how. Embed it on your website to help customers find your stores, services, or events with zero confusion. Conclusion So now you know how to pin multiple locations on Google Maps, whether it’s for business strategy or vacation glory. With just a little bit of clicking (and the occasional spreadsheet magic), you can create customized, color-coded, sharable maps that look good and get the job done. If you need help integrating custom maps into your website or want to use Google Maps creatively for your brand or local SEO, SE Rank Pro—a digital marketing company in Chandigarh—can help. We specialize in making your business visible—pin by pin. Visit us at SE Rank Pro to learn more.